Thursday, February 28, 2013

Password Book - Pt I

This is a project I've been wanting to make for quite a while, it just never seemed like I had time so I decided to make time. 

I don't know about you but I have all of my passwords for various web-sites, forums, groups and stores written down on a piece of paper and it just keeps getting more and more cluttered.  It started out neatly folded and while the writing was small I could still read it.  Well, I've continued to add more and more passwords written in the margins, along the edge, squeezed in here and there until I just can't keep it straight anymore.

I know some people like to keep a file on their computer but with hackers smarter (and more evil) than ever I never keep my password list anywhere on my computer so I came up with this book idea.

After MUCH trial and error to get the margins correct (the proof is in my garbage can) I have created 2 different PDF files for you to use to make your very own Password Book. 


Password Book 1 001

Small Password Book

The first file is for a small password book that will be finished size - 3.25" x 6" - This is the book I'm going to be making.  The reason it is so small is because I wanted it to be made with a book ring binding, one web-site/password per page.  This way all of my sites can be alphabetized (a bit of my CDO showing) and if needed I can add or remove sites/passwords easily.


Cutting Instructions:

1. Print out as many pages as desired using the PDF file.  (Note: these pages should be printed full size for the cutting instructions to work.)  I printed mine on cardstock but you can use regular printer paper if desired.

Password Book 1 002

2.  Trim off 1/8" from the landscape top and landscape bottom of each page.  Your page will now measure 8.25" x 11".

Password Book 1 003

3.  Now cut the page in half at the 5.5" mark (basically you're cutting the two columns apart).  Your pages will now measure 5.5" x 8.25".

Password Book 1 004

4.  Cut each password page 2.75" - each page will measure 2.75 x 5.5".  A regular 8.5" x 11" sheet of paper will yield 6 individual pages.

Password Book 1 005

5.  If desired you can cut alphabetical dividers - 3" x 5.75".  One 12x12 sheet of cardstock will make 8 dividers.

6.  Cut the covers 3.25" x 6" from chipboard. 

Password Book 1 006


Large Password Book

This password book creates a "normal" book that measures 9x6" when finished.  This book is much more user friendly when it comes to cutting but the individual website/passwords won't be removable.  You'll have to remove the entire sheet if desired.  


Cutting Instructions:

1. Print out as many sheets as desired.

2.  Cut each sheet in half at the 5.5" mark basically cutting each sheet in half.  The pages will measure 5.5" x 8.5" with 4 entries per page.

3.  If desired, cut alphabetical dividers measuring 8.75" x 5.75".

4.  Finally cut the covers 6x9" from chipboard.

That's where we'll stop for today.
My actual cover paper is drying as I type.
I'll share the final steps tomorrow.
Wednesday, February 27, 2013

Club Scrap Up, Up & Away Blog Hop!

Welcome Everyone
to the Club Scrap's


I'm so happy to be able to share my creations with you all.
Uplifting Birthday 3-D Card ~
The balloon was stamped 5 times on each solid color of cardstock in the kit (white, dark pink, light pink, blue, red). I then trimmed and glued them all back to back to create the 3-D effect. Once the balloon was assembled I glued it over the balloon area of the stamped main image.
The black dots are faux gemstones (from a roll).

Club Scrap Up Up n Away 002
Limited Imagination Card ~
A section of the pattern paper is the backdrop for the balloon charm which was stamped on white cardstock and covered with 3 layers of Crystal Lacquer.
The balloon can be removed and used as a charm if desired.
Club Scrap Up Up n Away 004
Floating Balloon Card ~
I started off by die-cutting the oval in the card blank and pink panel. I also die-cut the scallop oval frame. I then stamped the small balloon twice, colored & trimmed each image and mounted them back to back with a piece of blue wire in between. The wire was attached to the card base then covered with the pink stamped panel.
Club Scrap Up Up n Away 005
On the inside of the card I cut 3 balloons from the pattern paper and created fluffy Gelato clouds in the background. The sentiment was then stamped to finish it off.
Club Scrap Up Up n Away 006
Thank you so much for stopping by...
it's time to hop on over to
And if you're just joining the hop below is the complete listing of participants!
Have fun checking out all of the amazing creations.
Roni Johnson (You are here!)

Tuesday, February 26, 2013

Stamping fun...

Just a couple cards for you to enjoy...
 
The first card is for all of the folks across the country "enjoying" winter!
We're getting ice at the moment but it's for casted to change over to snow later this afternoon.
I hope everyone is safe and warm!
 
(all stamps - Just For Fun Rubber Stamps)
 
Did you realize that Easter is very early this year?
I didn't until I was flipping through my calendar looking for a date for someone.
It's March 31st!
Not long now...
 
So here is a card to get you in the mood...
and maybe out of the winter blues
since we can all start thinking about Spring!
 
That's a happy thought isn't it?
 
 
(all stamps - Third Coast Rubber Stamps)
 
Tomorrow I will be participating in a Club Scrap Blog Hop!!
Everyone will be showing off their talents using this months - Up, Up and Away kits.
I kind of went overboard with this one so I'll share some tomorrow
and then a few more later in the week ;)
Ya know it's hard to stop stampin' once you get in the groove - LOL!!
 
Anyway, hope you all have a great day!

Monday, February 25, 2013

What to do with Bamboo Tiles...

I had several e-mails over the weekend about the Bamboo Tiles I have in my Etsy store...all asking what you can do with them or what they are used for.

I like to make charms from them but I've also made bracelets, key chains, etc.  I've even made ornaments from them for Christmas. 

Here are a few pics to get you started....

bamboo tiles - masking007 Bamboo Tiles004 lacy bamboo domino charm 006 25 Days of Hand Crafted Gifts & Ornaments - Bamboo Tile Charms 013 25 Days of Hand Crafted Gifts & Ornaments - Bamboo Tile Charms 005 bamboo tile bracelet006 bamboo tile bracelet013 Archival Ink 03-09001 collage image bamboo tiles008 collage image bamboo tiles005 Halloween Bamboo Tile Charm 017 Perfectly Glittered Tiles012
 
These are just a few ideas...
If you type in Bamboo Tile into your search engine I'm sure you'll come up with loads more ideas.
They really are lots of fun to play with.
 
You're only limited by your imagination.

Friday, February 22, 2013

New Goodies @ my Etsy Store!

I've been busy the last few weeks collecting more goodies to offer up in my Etsy store -
(Yes, I know I need to redesign a new banner...I just don't know how to do it.  Another thing on my list of things to learn/do - LOL!!)
 
If you've never visited it before, I offer a mix of old and new goodies for your home or to use in your art.  All of the vintage goodies have been found lurking under boxes, in dark corners and hiding from view at flea markets, antique stores and malls across Indiana, Ohio, Michigan, Kentucky and Illinois.  You can be assured they are the real thing...no reproductions, copies or digital images. 
 
Some of the new goodies include:
 
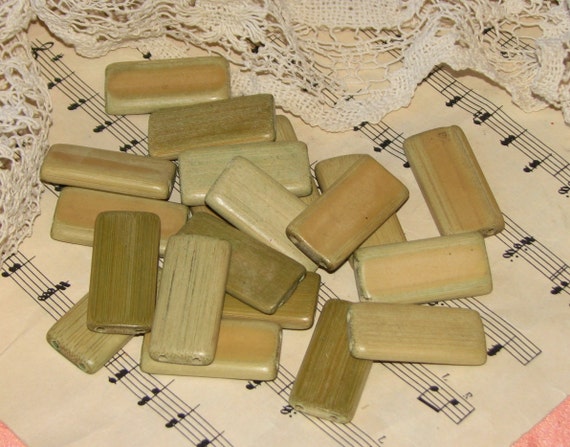
Green Bamboo Tiles - Just in time for St. Patrick's Day!
 
Note: These aren't an in your face Kelly green but a more subdued green.  When you get them next to a cream or natural colored bamboo tile the green really stands out. 
 
20 Green Bamboo Domino Tiles
 
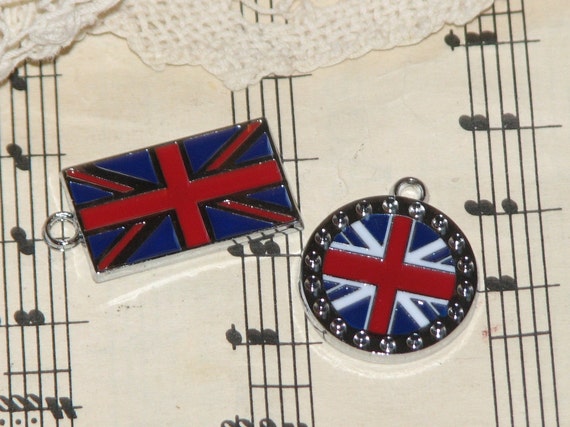
British Flag Charms - Just in case you've caught that Royal / Downton Abbey Fever (like I have!)
 
2 British Union Jack Flag Charms - Jewelry, Charms, Scrapbooking, and More
 
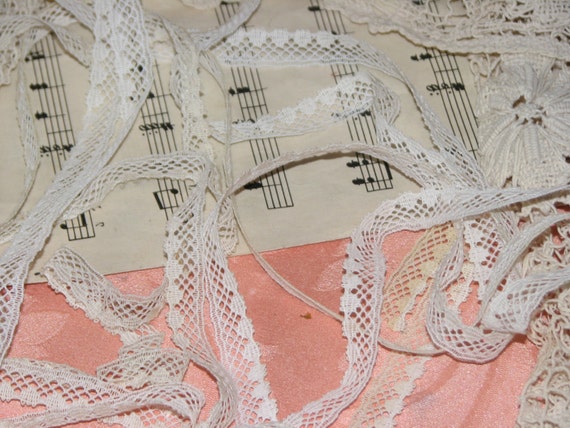
Vintage Lace - I was so excited when I found this and the story behind it is awesome!
 
3yds of Vintage Lace
 
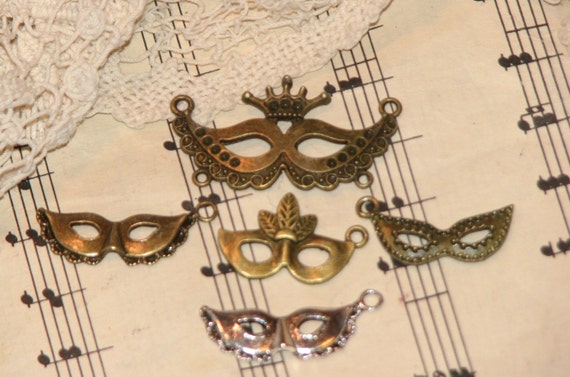
Mask Charms - to add a bit of mystery to your life...
 
5 Mask Charms - Jewelry, Charms, Scrapbooking, and More
 
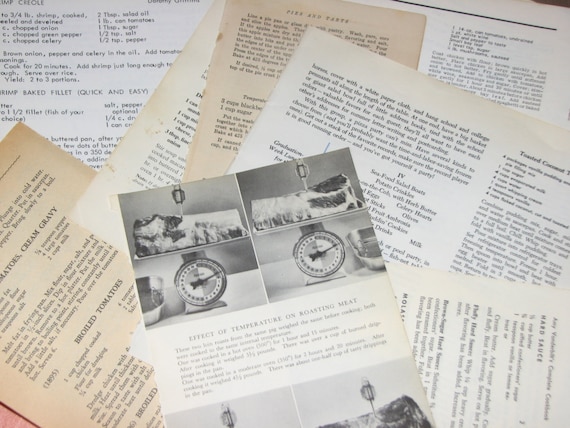
Vintage Cook Book Pages - to add to your cards, ATC's, Gothic Arches, Scrapbook Pages, Mixed Media & Altered Art Projects and soooooo much more!
 
Vintage Cook Book Pages - Bakers Dozen for Mixed Media, Collage n Altered Arts
 
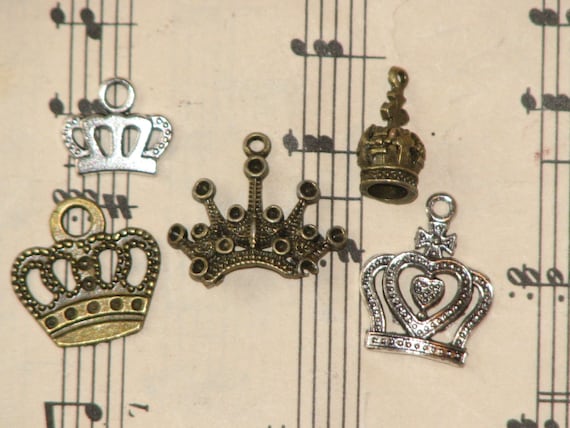
Crown Charms - because everyone deserves to be Queen for at least a day, or two....or more ;)
 
5 Crown Charms - Jewelry, Charms, Scrapbooking, and More
 
You'll find all of these new goodies and so much more!
 
Now, if you'd like a chance to win an assortment of some of the new and current items at my store all you have to do is leave me a comment on items you'd like to see, something you really like in the store or just to say hi. 
 
If you care to spread the word, post a comment elsewhere, then come back and leave a link to your comment and I'll enter you a second, third or more times.  So go forth and spread the word :)
 
You have until 3-10-13 to post a comment to be entered to win!
 
Good Luck and Enjoy!

Just For Fun - Wednesday - Friday ;)

Well, this card was actually supposed to be posted on Wednesday but ya know how things go...

Better late than never ;)

Sticking with the whole winter theme of it all I thought I'd do something a bit different. 

JFF 006
 
I stamped the country pond scene with coffee archival ink onto a sheet of pearl paper then colored the scene with Spectrum Noir Markers and added a bit of Stickles for some sparkle.
 
I then stamped the flapper chick on some white cardstock, colored her with SN markers and then had a bit of fun with some stiff bodied gesso.  After the gesso had dried I inked up the "fur" to highlight the texture.  When she was dry I cut her out and added her to the card with double stick foam tape to pop her off the background a bit.
 
I thought the sentiment went well with the whole idea.
 
All stamps are from Just For Fun Rubber Stamps.

Be sure to check back later today...
I'm going to show you some of the goodies I found while antiquing
and I'll be giving some away as well!
 
Have a wonderful weekend...

Thursday, February 21, 2013

Heat & Bond Sparklie Idea

I was wandering around the store yesterday racking up a huge groceries bill and I suddenly found myself in the crafty area of the store ;)   I was looking for anything that jumped out at me and screamed take me home.  Well, unlikely as it sounds a package of Heat & Bond is what I came up with.  Actually, I needed some to repair a garment for dh but I figured what the heck, I should be able to do something crafty with it too!

Heat & Bond Tip 001

You know (or maybe you don't) it's basically just an iron on adhesive.  I cheat and use it to fix hems sometimes...specially the ultrahold.  Well, I was thinkin this might be great when paired with glitter!  Of course other grainy type mediums would work well with it too...flocking especially comes to mind.

But anyway, before I go too far off track, I wanted to see how it worked on cardstock with glitter so I snipped a square of it off the sheet and ironed it onto a piece of cardstock.  A few seconds is all it needs.

Heat & Bond Tip 002

Then I peeled off the backing paper and sprinkled on some glitter while it was still hot.  Now this glue cools down quickly so if you're not fast enough with the glitter, no worries. 

Heat & Bond Tip 004

You can re-heat the glue from the bottom using your heat tool and add more glitter as desired.

Heat & Bond Tip 008

After you add the glitter, shake it off to check for bare spots.  If you need to you can always heat it again and add more glitter. 


Heat & Bond Tip 005

Now, I'm thinkin that this would be really cool paired with die-cuts or hand cut shapes!  You could work it so many ways.  First, you could glitter up a piece of paper then die-cut it OR you could die-cut the Heat & Bond!  Both the positive and negative die-cut images would work super for all sorts of things...cards, atc's, scrapbooks (away from photos of course), mixed media collages, etc.    You could even use it on material collages as well.    The possibilities are endless! 

I promise you'll be seeing a bit more about this in the near future!

Wednesday, February 20, 2013

Gelatos Watercolor Scribble Technique Cards

Yesterday I shared a technique using Gelatos to make a nifty watercolor styled background -

Today I wanted to share some cards I made using this nifty technique...

Enjoy!
 
 
Gelatos Watercolor Scribbles 004
 
(Stampers Best Stamps)
 
Gelatos Watercolor Scribbles 002
 
(Stampers Best Dress Form; Fancy Pants Flourish)
 
Gelatos Watercolor Scribbles 003
 
(Just For Fun Rubber Stamps - Sentiment; Paperbag Studio - Chair)
 
Gelatos Watercolor Scribbles 005
(Just For Fun Rubber Stamps)
 
This really is a great technique to create amazing backgrounds every time!

Tuesday, February 19, 2013

Gelatos Watercolor Scribbles

As promised, here is the technique I used to create this card....
something I'm calling
 
Gelatos Watercolor Scribbles

CS - Jan 2013 012

For this technique you'll need the following...

Gelatos
Acrylic Stamping Block
Water
Cardstock
Heat Tool (optional)
Stamps
Ink

Gelato Watercolor Scribbles 001

Instructions:

1. The first thing you're going to do is to scribble one or more colors of Gelatos onto the stamping block.  For this example I'm making a rainbow of lines.

Gelato Watercolor Scribbles 002

2. Next spritz a bit of water onto the scribbled Gelatos.

Gelato Watercolor Scribbles 003

3. After you spritz the Gelatos, if desired, gently tap the colors being careful not to mix them.  This just helps the Gelatos dissolve evenly in the water.  Again, it's totally optional ~ it will work either way and create two different looks.

Gelato Watercolor Scribbles 004

4.  Now stamp the block onto your cardstock.  If there is enough water on your block you can slide it around a bit for a more blended look.  That is what I did on the initial card I shared.

Gelato Watercolor Scribbles 005

And here is what it looks like ...  ready to be put to use on a card, in a scrapbook or other project!

Gelato Watercolor Scribbles 006

If you've never worked with Gelatos you might not know that some of the Gelatos have a beautiful metallic shimmer to them.  These particular colors are beautiful when paired with this technique and black cardstock. 

Here are Gold, a Purple & Blue ready to stamp....

Gelato Watercolor Scribbles 007

Stamp & slide...

Gelato Watercolor Scribbles 008

And here is the black cardstock and a couple other examples....

Gelato Watercolor Scribbles 009

Tomorrow I'll share a few cards created using this technique!
Hope to see you then!