Wednesday, December 31, 2014

Reunion Club Scrap Blog Hop & Give Away!

Happy New Year's Eve Everyone!

 photo reunionbloghopbadge_zps50fef64f.jpg

Today is the "Reunion" kit Club Scrap Blog Hop!


I was thrilled when I saw the "Reunion" collection - the colors are so beautiful and I love the fanciful designs for both the pattern papers and stamps.  I knew right what I wanted to make...I saw a conversation on Facebook about one page projects and thought it would be a fun challenge to see what I could come up with using one 12x12 sheet for the base of a creation.

I must admit it sounded lots easier than it actually was but I finally was able to come up with a mini brag book that you can tuck in your purse with room for several photos - anywhere from 10 larger sized photos to any number of the smaller photo sizes I've seen out there recently.

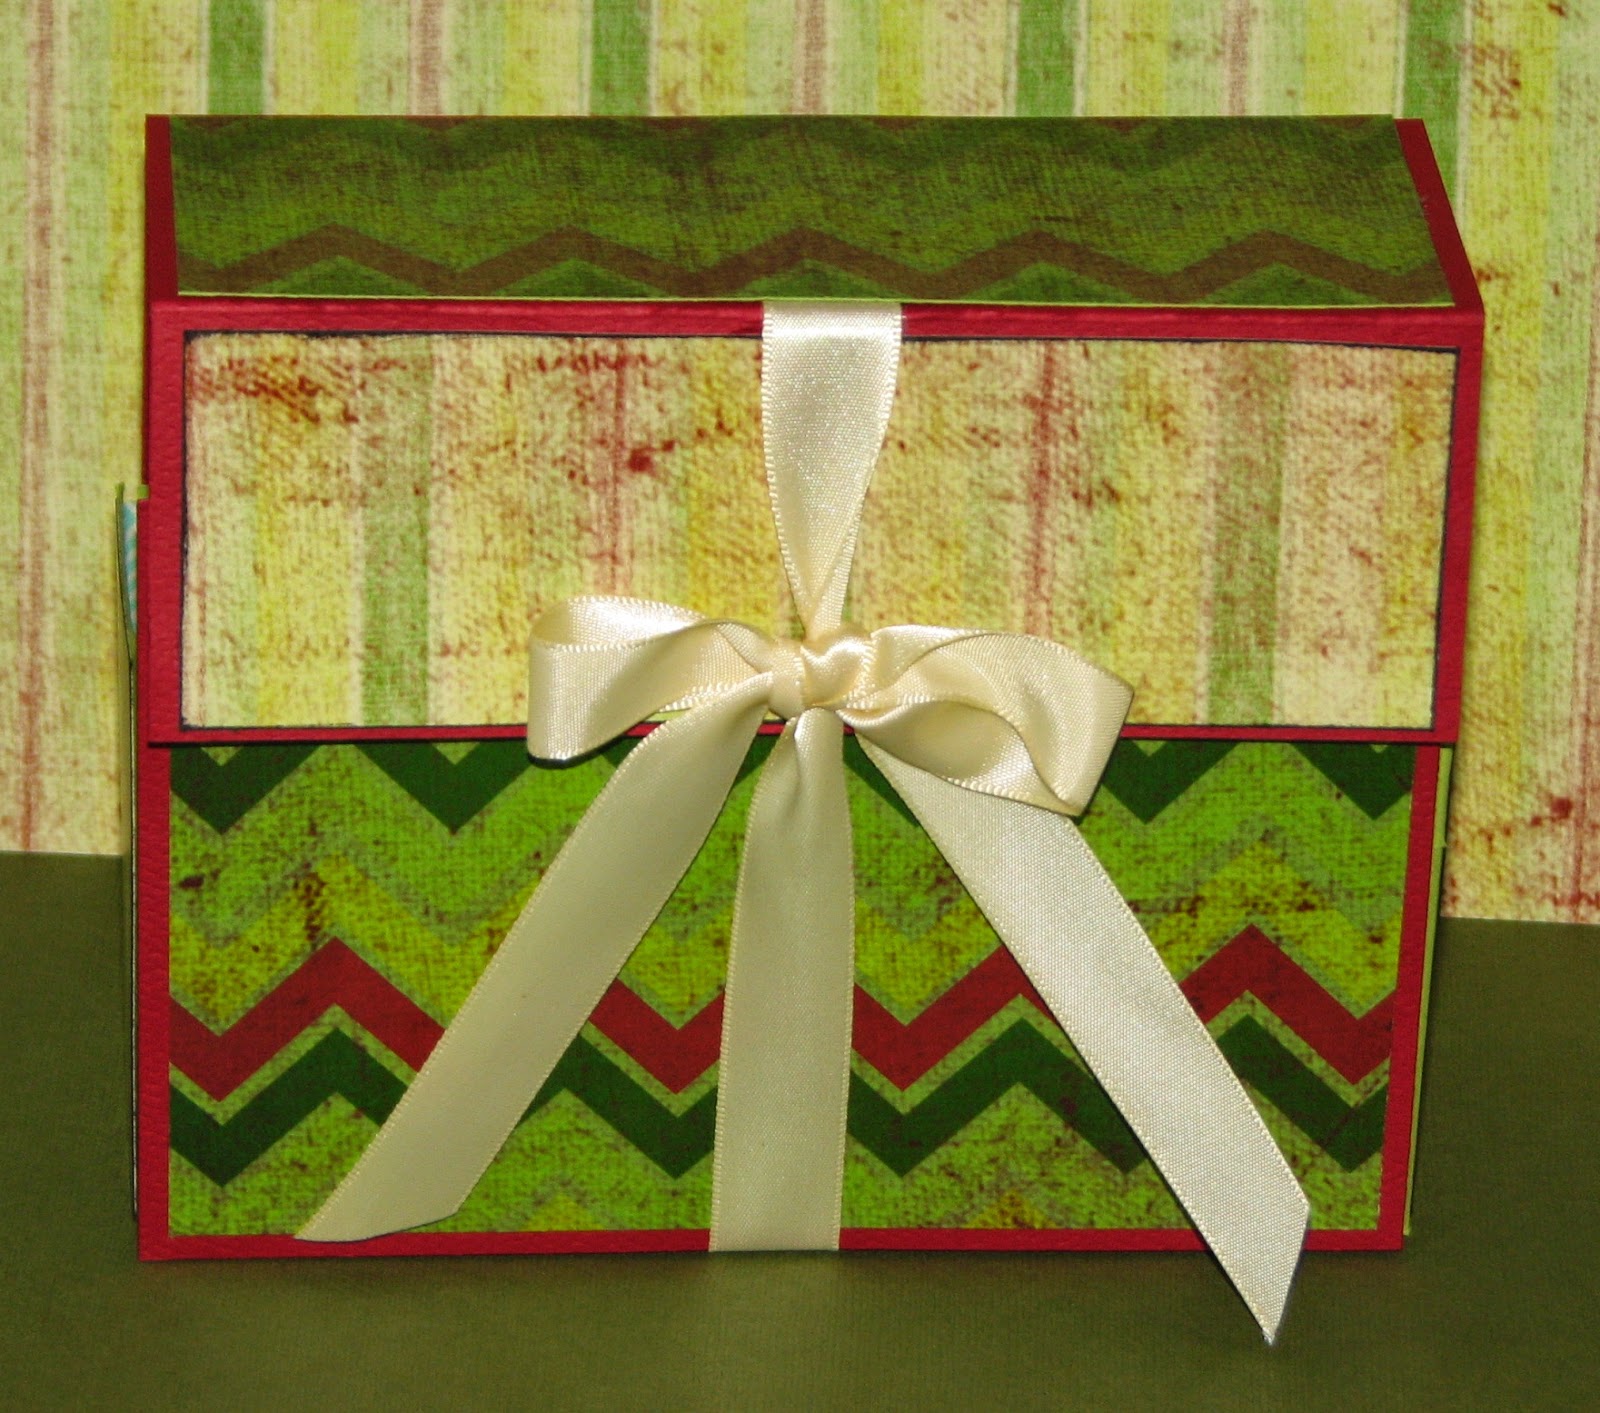
I know initially this little album looks quite unassuming...


But once you untie the ribbon and it starts to unfold you quickly realize just how much room you have to share your photos....

Add caption

And it keeps going....the underside of the flaps even have a space for journaling, notes or simple identifiers as to who is who.


Finally once it's all the way opened up you'll be amazed at all of the real estate you have for photos of family and friends!


 I am just so tickled with how fun the finished album is and it all started with just one 12x12 sheet of cardstock!  Of course for the finished album I used quite a bit more paper for all of the layered photo mats and other bits but that's what is great about this project.  You can use as few or many extras as you'd like.

Your next stop on the hop is  Deb's Blog - Lift Bridge and if you get lost along the way the complete hop list can be found on the Club Scrap Blog!

Now, for the giveaway....
Would you like to win this album?

Simply leave a comment telling us your plans for NYE (and a way to contact you) and you could win this very album!

You have until 1-7-15 to post your comment to be entered to win!!

I will share the directions and measurements on how to make your own album tomorrow plus a few extra ideas on how to pack even more into this fun little brag book!

Hope you all have a safe 
and fun New Years Eve!!!
HAPPY NEW YEAR!!!!!!!


Tuesday, December 30, 2014

Merry Altered Christmas Jean!

Today I wanted to share my portion of a project the Altered Pages design team made for Jean - the driving force of Altered Pages.  She is such a sweet and giving lady - always working towards making Altered Pages bigger and better.  The team decided to pay her back with a mini altered album filled with love...sometimes called a Fat Book because they are short and usually pretty "fat" by the time you get all of them bound together.

Our theme was Women and jewel tones so here's what I made...


The background was made using my Gelli Plate and a variety of paints.  The white dots were made by dipping a tip of a paint brush handle in white gesso then dotting onto the page.


The back is another Gelli Plate print with a bit of stamping added; an AP collage image, a bit of silk sari ribbon and a couple of fun quotes.  Be sure to check out the rest of the pages over on the Altered Pages blog - Merry Altered Christmas Jean.   This is a super fun way to shower someone with love from a large group of people...maybe the next time you're thinking of a gift for someone an Altered Fat book is the way to go!

Monday, December 29, 2014

It's Monday...

Hi Everyone!  I hope you all had a wonderful Christmas!  I know I had lots of fun with the various family functions.  It's been busy around here - not only did we celebrate Christmas but my oldest son and his girlfriend went and picked out a ring!!   Well, he hasn't "officially" given it to her - he's waiting for the right time but now both of my babies are engaged! 

I got a set of the new Chameleon pens for Christmas!  I can't wait to start playing with them...I've only had a chance to give them a quick try and I like what I see so far.

Here's another fun bit from my vintage scrapbooks....


I've been kind of slow getting back into my crafty groove.  We've started major renovations at the building we rent.  We rented additional space in the building we're in which will be cold storage so in the last week or so we've doubled in size and have basically torn the heck out of things.  We moved LOTS of machines, torn down walls and put them up elsewhere; we're painting walls, painting floors,  and more.  The painting is what's taking so long - well, not necessarily the painting part but waiting for the paint to dry.  I'm ready to get my heat tool out and start drying it that way -LOL!!  I'm not very good when it comes to waiting for things like that. All the mess and things scattered here and there are starting to drive me crazy, I'm just ready for it to be done.  Hopefully another week or so and we (crossing my fingers) will be mostly put back together.  I know it will be worth it once it's finished but you know how it goes ... it's the getting there that's tough.

I have started playing with the IMAGINE Crafts/Tsukineko products since being selected to be on the  IC/T 2015 Artist in Residence (AIR's) team.  I am very excited about this - it is a great opportunity for me to share lots of information on new and different products with you.  It also gives me a chance to experiment and explore new and different mediums.  My first project is set to go live this Friday so be on the look out for that :)

 Well, that's all for today - tomorrow is an off day for me at work so I will have a chance to get crafty and make something to share with you.  Till then...stay warm and inky!

Thursday, December 25, 2014

Merry Christmas!!!

Wishing you all peace and happiness....


hoping you are able to spend time with family and friends...


and that you are all blessed today and always!!!


Have a very Merry Christmas to you and yours!!!
(((((((INKY HUGS)))))))

Wednesday, December 24, 2014

Christmas Eve Vintage Post Cards

 It's Christmas Eve.....  hope you're all ready for the big day and if not here's to finishing what you can today and calling it good.  I have a few more vintage cabinet cards/post cards to share - these are from a different album but dates from around the same time period (1860's - 1890's).


Tuesday, December 23, 2014

Vintage Christmas Cabinet Cards...

I don't know if you recall earlier this year I bought 3 very old "scrap" books from the 1800's.  Over the next few days I thought I'd share some of the Christmas cabinet cards in these books.  These images are all from around 1860's up to the 1890's.    I hope you enjoy them!


I thought this was very pretty but I'm not sure why they would have wild roses for a Christmas card....


I belive this one is from England - there was tiny writing in one corner.  Might be why the scenery is so pretty... and not snowy.  You can see where someone wrote 1881 in pencil along with some initials.  


Monday, December 22, 2014

Wishing you Joy and Peace...


A fun little card to wish you joy and peace this holiday season!
Both ornaments (Just for Fun Rubber Stamps) were embossed - Joy using copper EP and Peace with black EP. They were colored with a combination of various mediums... Spectrum Noir markers, Twinkling H2O's, metallic markers and of course glitter...lots and lots of glitter :)    I cut them out and strung them with a bit of stretchy gold cord and added a little bow to finish them off.

Hope you're having a wonderful holiday season....

Thursday, December 18, 2014

Kitty Christmas!

Today I wanted to share my Christmas Kitties Gothic Arch...


The arch it's self was covered with a layer of DecoArts Mixed Media Crackle Paste.  I smeared it around the entire outside edge of the arch then pressed the pattern paper into the paste while it was still wet.   I let the paste dry then I applied a layer of DecoArts Mixed Media Raw Umber Antiquing Cream.  The fun stuff about the crackle paste is that you can flake it off here and there to give your piece a really vintage feel.  I LOVE it!  I used a damp cloth to smear the antiquing cream around which gave me a blotchy look on the crackle paste.  It looks just like what you'd find on very old painted surfaces which I love!


I added some fun extras like the collage image from Altered Pages, some glitter here and there along with the nifty stamped bell (JFF Stamps) image which was colored with Spectrum Noir Markers and the Pico Embellisher.


JFF Rubber Stamps: Bells & HollySentiments UM Sheet #1


Other Supplies: DecoArt Crackle Medium, Antiquing Cream; IMAGINE Crafts/Tsukineko Pico Embellisher; Markers; White Gel Pen


Winter Nails...

Hey all...gosh can you believe just a week till Christmas?  I went yesterday and finished up my shopping...today I hope to get it all wrapped but it's not looking good - LOL!!

I wanted to show you my nails!!  I am so excited.  Mom & Dad got me a GC for my b-day (back in October) to go to a really nice salon down in Fort Wayne and I finally went and had them done.  I had looked on their gallery on their web-site before I went and saw they did some fun designs so I went for it...


GLITTER!!!!

Yes, you all know how much I love glitter and the color blue so I had them do something really fun...light and dark blue glitter  :)  I thought it would be fun for winter and who am I kidding, I just like glitter - LOL!!    I am still getting used to them.  My natural nails have been taking a beating since I've been working at the building more.  They break off easily so I've just been keeping them short.  These are definitely not short so it's a bit weird typing with them.  My c's keep coming up as x's - LOL!!  I'm sure I'll get used to it again.

Love love love them!
Thanks Mom and Dad :)

Wednesday, December 17, 2014

Club Scrap Holiday Blog Hop!

Welcome to Club Scraps 2014 Holiday Blog Hop!!  I'm so excited to share what I've created using this limited edition set of stamps and papers with you...  I'm going to get right to it.

I made this fun Card Organizer/Holder which I shared the directions for yesterday.  It takes just two pieces of cardstock, several folds and a bit of adhesive.  I used the holiday papers and ribbon to embellish this card organizer.


I also used a bit of StazOn Midi Ganache ink around the edges.  It is what was used to stamp the images and sentiments for all of the cards as well.  As you can see from the photo below I used a velcro dot for the closure so it stays together even if you untie the ribbon.


The row of ornaments is an embellishment on the little pocket on the flap that can hold postage stamps, slips of paper with addresses or anything else you might want to tuck inside.  There is room for a dozen+ cards and envelopes.  I have 12 rather lumpy cards inserted into the box with a bit of extra space left over.  If your cards were fairly flat I believe it would hold up to 20 cards and envelopes.

Now onto a few of my cards....


I wanted to share this one first because Gnomie now has a girlfriend!!!  Whoo Hooo...how exciting for him.  Now he'll have a companion joining him on his Club Scrap travels.  I can't promise she'll be at every destination but I'm sure she'll accompany him from time to time.

And here are several more cards I made....


You're next stop is 


If you get lost along the way the complete list of participants can be found on the Club Scrap blog.

Merry Christmas Everyone!!


Tuesday, December 16, 2014

Card Organizer - Holder Tutorial

Hey Everyone!  I hope you're all having a fun time getting ready for the holidays...  I am excited, tomorrow I'm going to have my nails done.  First time in a couple years - the place I'm having them done does some cool stuff with glitter so I'm going to see about getting my nails all glittered up :)  

Today however I have a fun project for you...  a card organizer or card holder.  I am making it for Club Scraps holiday blog hop (tomorrow) but I wanted to give you the plain jane instructions today because it makes a great gift idea for loved ones far away.

The basic organizer is going to take 2 pieces of 12x12 cardstock. Heavy cardstock works best because your organizer will be sturdy and stand up to use better.

Instructions:

1. Cut one piece of cardstock in half so you have 2 - 6" x 12" pieces.  Set one aside for later use.

2.  You're going to score the 6 x 12" piece of cardstock as follows:

2"; 4 1/8"; 9 1/8"; 11 1/8"

If you are using the Scor-Pal it's a bit easier...

Score at the 2" mark & fold; Slide the fold over to the edge and score at the 2 1/8" mark and fold; slide the fold over to the edge and score at 5" and 7".


Once you fold at the score marks your sheet of cardstock will form the outer covering of the organizer.


3. Cut the second sheet of cardstock 7" x 12".

4. Score the 12" side as follows: 1"; 3"; 9"; and 11"


5. Turn the cardstock to the 7" side and score at the following marks: 1"; 3"; 6"


6. Turn the scored piece of cardstock so the 12" side is at the top as shown below.  There are 3 small sections in each of the bottom corners that you need to trim away - a 1" square in the corner with 2 - 1" x 2" rectangles as shown.


(the cardstock with the small pieces removed.)


7. Fold the 1" flap along the top down and tack it down.


8. Fold the 2" square flaps down and apply adhesive to each.Stand the 12" piece up and adhere the 2" square flaps to the 2" x 3" sides.


9. The inner container of the organizer is beginning to take shape.  Apply adhesive the the corners of the final flap as shown and adhere to the 1" flaps.


10.  The container slides into the outer shell of the organizer as shown... Glue the bottom and 1" flaps to the organizer.


11.  Cut a 4" x 6" piece from the original piece of cardstock that was set aside.  Adhere it to the 1" flap of the organizer shell.  A pocket will be added to this flap in the decorating stage to hold postage stamps!


Here's what the basic organizer looks like assembled....


and with the lid folded over and shut....


Be sure to stop back tomorrow to see what the finished organizer looks like, how I decorated it with the holiday Club Scrap Kit and the cards I made to tuck inside!  Hope to see you then :)

Monday, December 15, 2014

Gelli Plate Winner is....

The winner of the 5x7 Gelli Plate is....

As drawn by Random.org...


True Random Number Generator  2Powered by RANDOM.ORG


Karen Petitt!!!

OMGEEE! Roni that has been on my wish list for more than three years! I am so envious of yours and I really want one! Thank you for the chance and for all the tips too. I don't mind having to be a frugal crafter most of the time, but I really want one of these as I have paints, inks, masks and everything else already, yep I'm a crafting geek lol! Thank you for the chance though Karen x
ReplyDelete
Congratulations Karen!Please send me your snail mail addy so I can drop your goodies in the mail!

Saturday, December 13, 2014

Gelli Plate Give-Away - Last Day!!

Hey friends, it's the last day to post a comment to be entered into the drawing for the 5x7 Gelli Plate Give-Away!!

5x7” Gelli Arts® Printing Plate

To enter for your chance to win please become a follower of Ink Stains, share this give-away on facebook, twitter or your own personal blog and leave a comment below. 


You have until midnight tonite to post your comment!
Good Luck Everyone!!